Once you got your new theme installed, you are ready to customize it! After importing the pages, use the Elementor visual editor to add your own content and images to the theme pages.
Let’s make it clear – all the branding stuff is edited using the Customizer, adding new pages and posts, as well as editing posts, happens using WordPress Gutenberg (from the dashboard), but all the design stuff and page layouts are edited using the visual editor (Elementor).
To add your own logo to the site, you can press Customize on your admin bar:

Or go from your Dashboard > Appearance > Customize.
Once you are in the Customizer, you can edit your Header & Footer – both colors and fonts and drag and drop items however you want. You can also change your global colors.
To change global colors, go to Colors & Fonts > Colors.

Each theme comes with 3 pre-made color palettes. You can choose the one most suitable for your brand and add your own colors there as well. Keep in mind that these are global colors and will change across all website.
To edit your typography go one step back. There you can assign fonts to both body text and headings.
To add your logo and site icon (favicon) go back and choose Header > Logo.
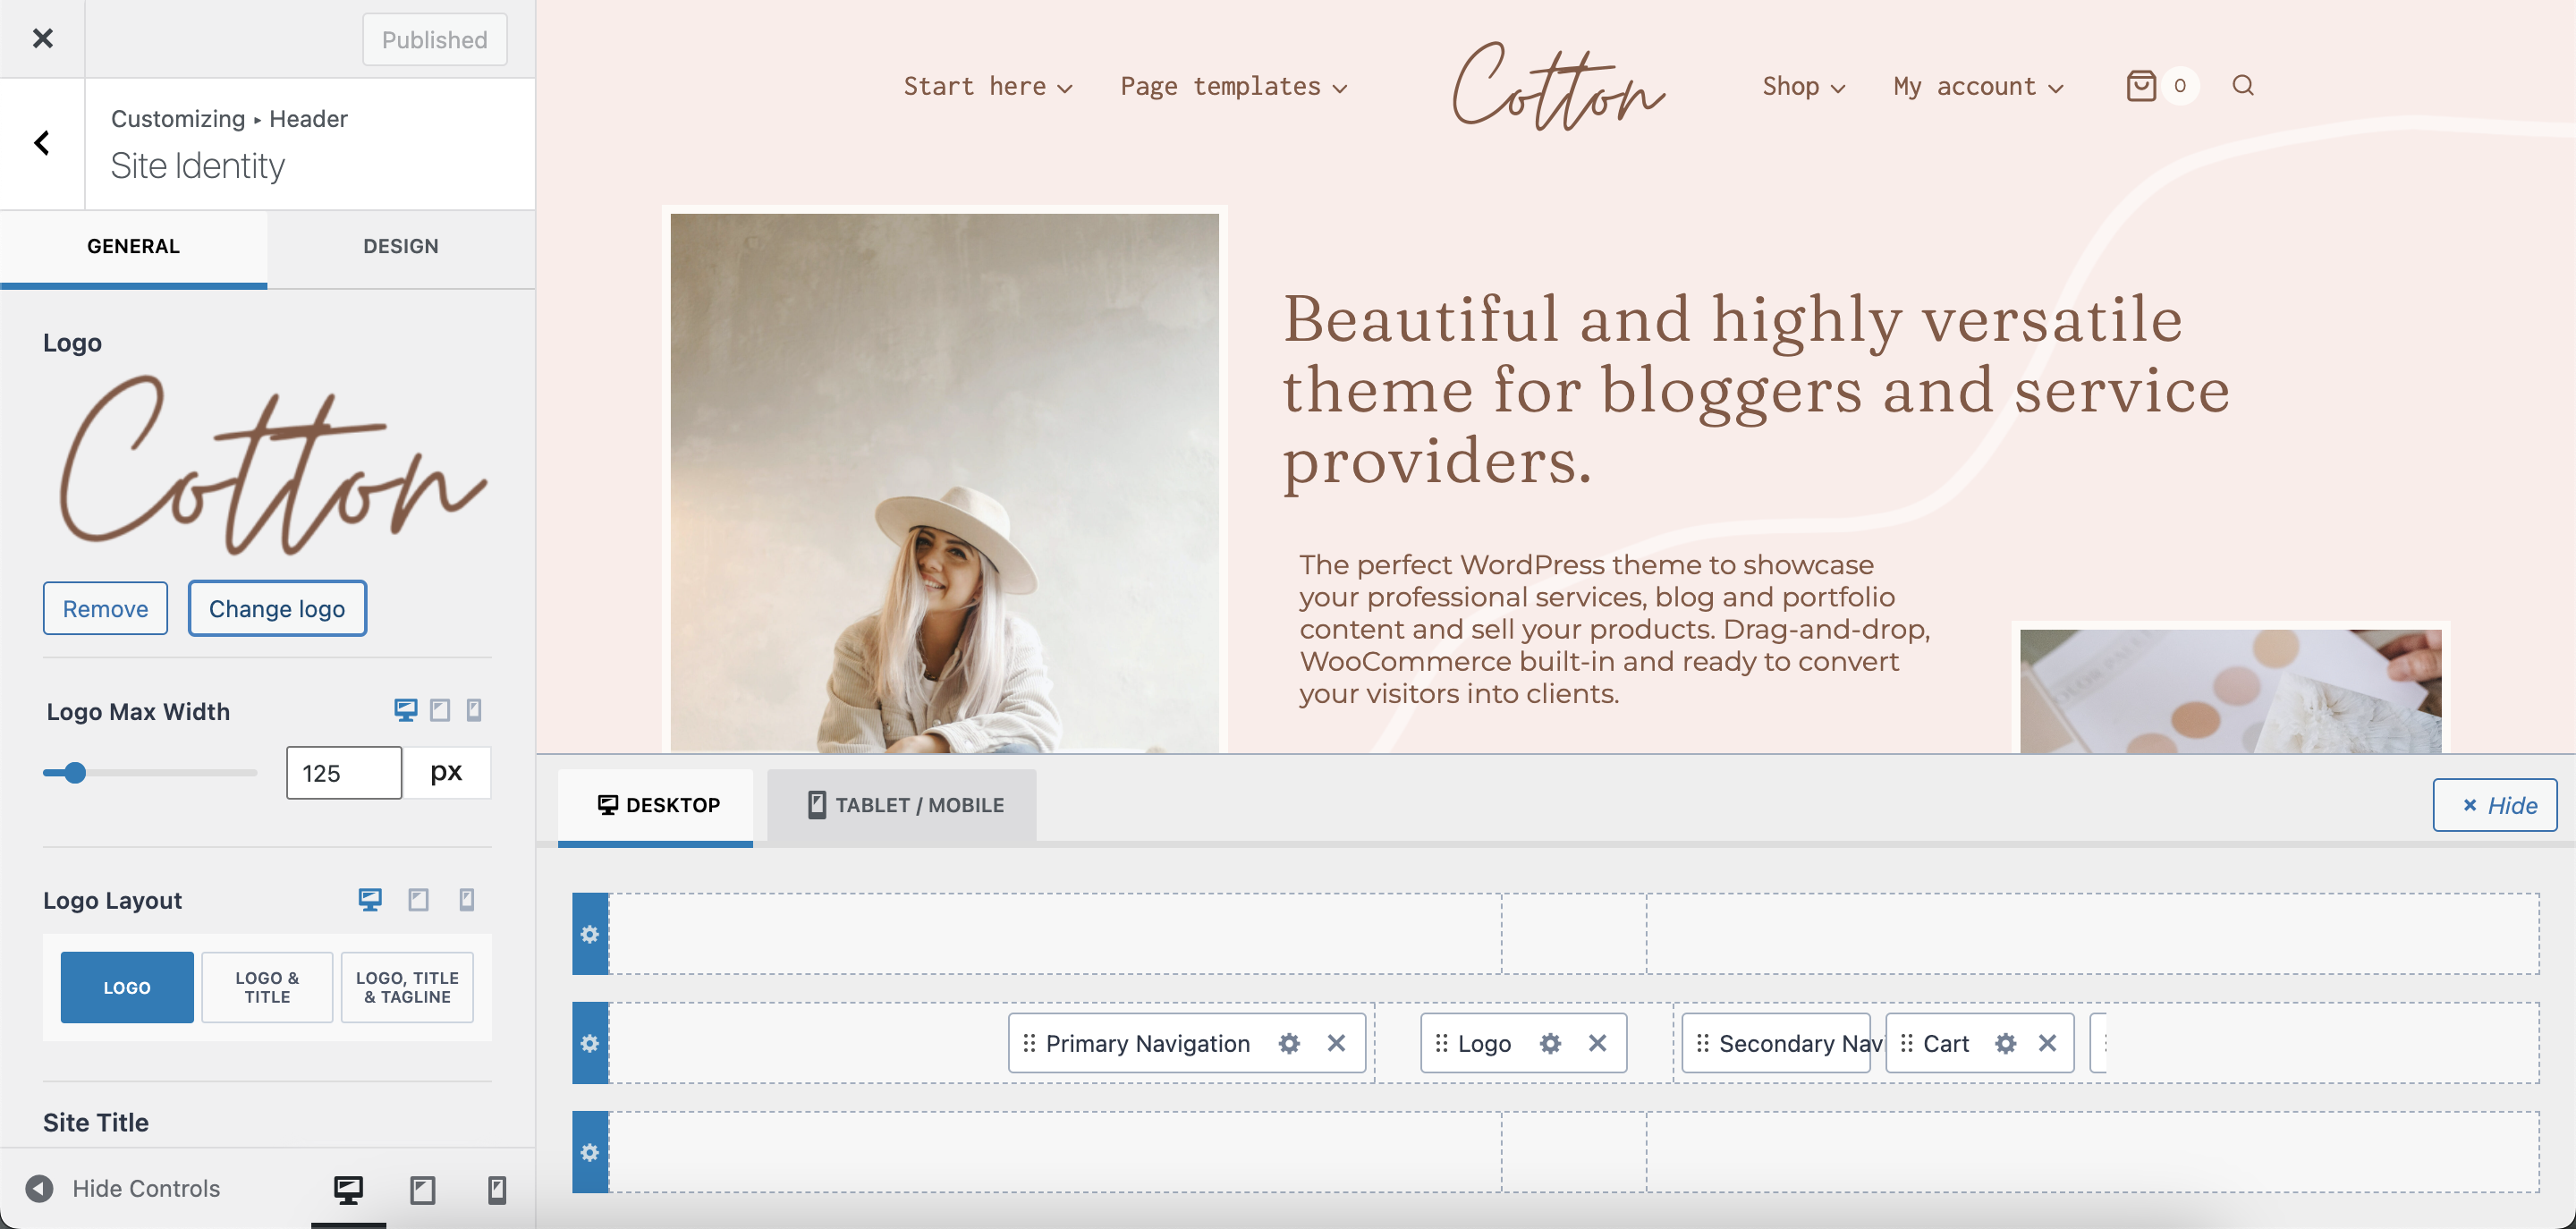
If you have Cotton or Amalfi theme, you can edit your Header and Footer through Customizer as well. Easily drag and drop items and edit the mobile header.
To add new pages or posts you got two options – you can do it either from Dashboard > Pages > Add New. Or you can do it from the front of your website:

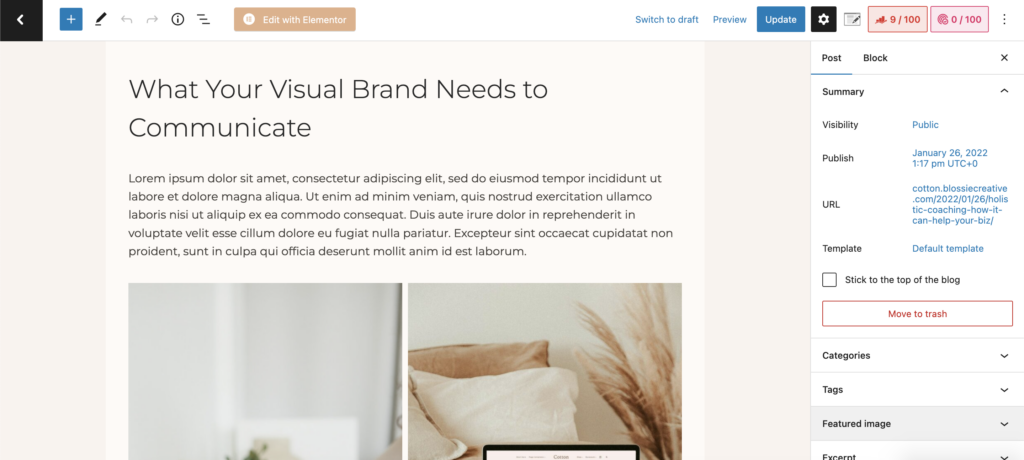
All the content for posts is written using WordPress Gutenberg (Dashboard > Pages):
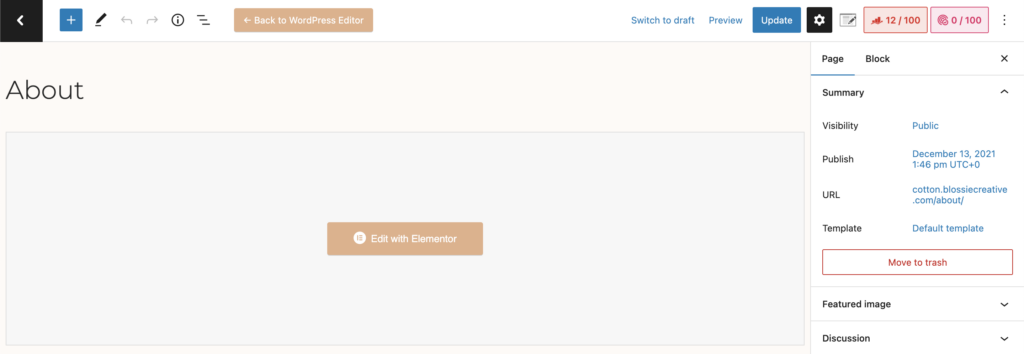
About the page layouts – the design and content part is edited using Elementor visual editor, but the title and permalink are edited from the Dashboard:
To edit page design and add your own content you can go either Dashboard > Pages > Edit with Elementor or go to the exact page you want to edit and click on the admin bar Edit with Elementor:

Once you click Edit with Elementor, the visual editor opens and you get a screen similar to this:
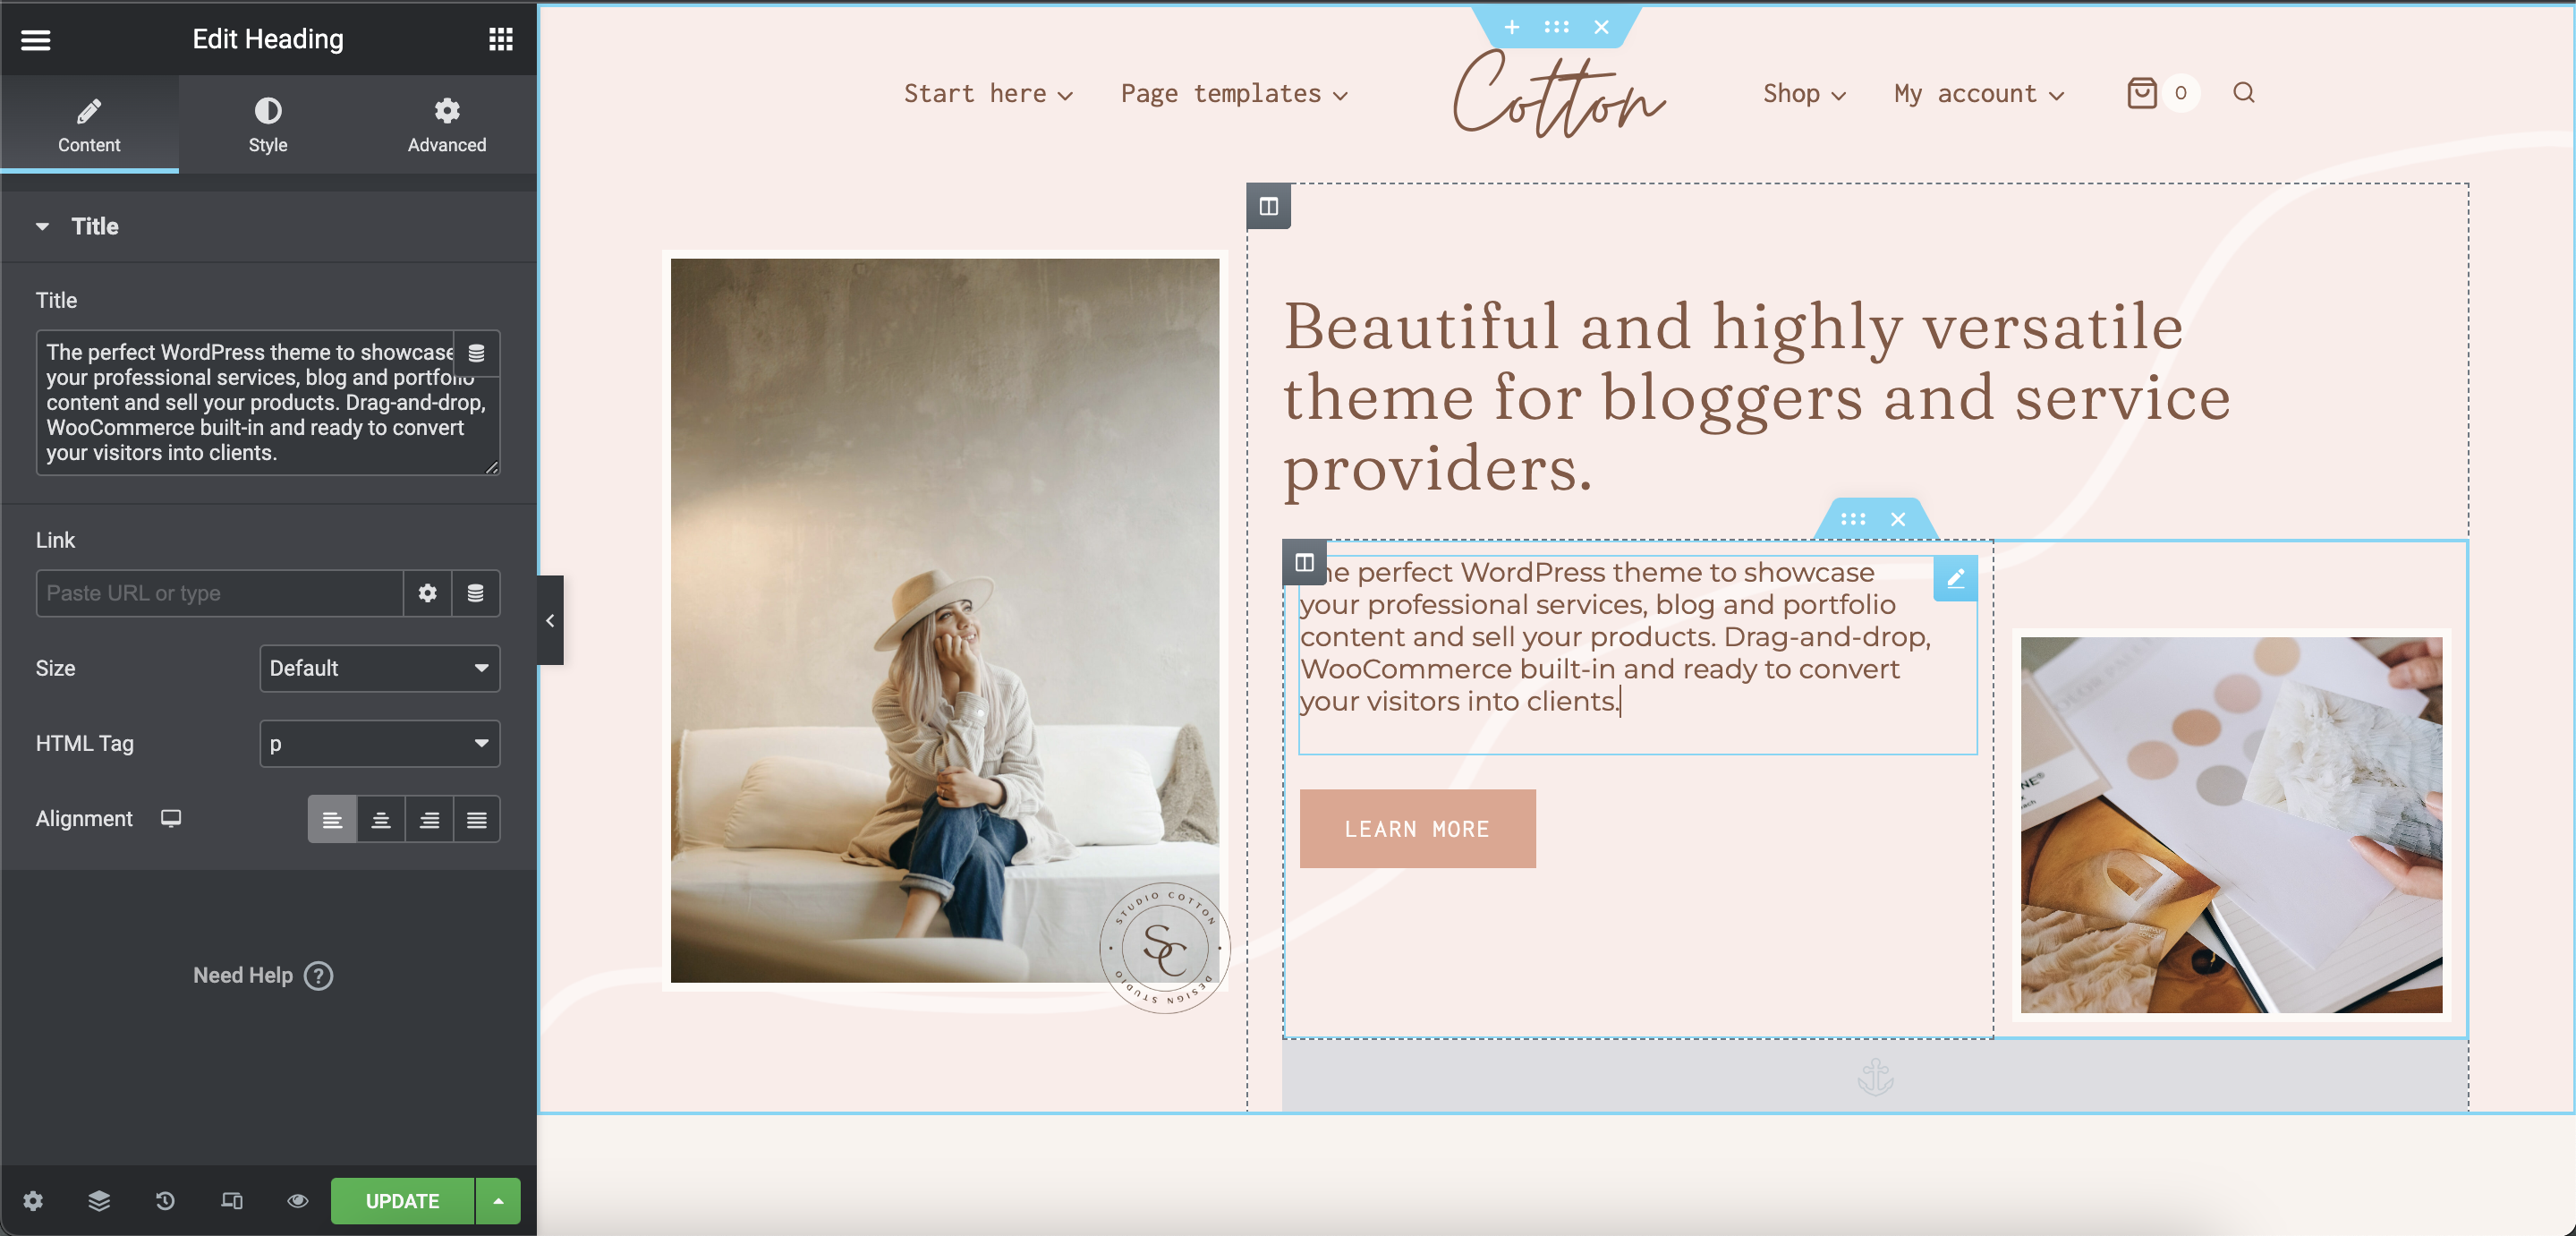
On left – you can edit the content and style of each element on your page. By hovering over elements they show a blue box – once you click on any of them you can edit them. For example, in the image above, the text box is selected. To edit the content press on the text box on the left and paste in your own content there. You can change text alignment and add link as well.
To edit the font and color of this text block choose Style on the left. There you got a color option and a blue circle next to it. This blue circle represents Global settings. Once you click it you can choose any of your site’s global colors for this paragraph:
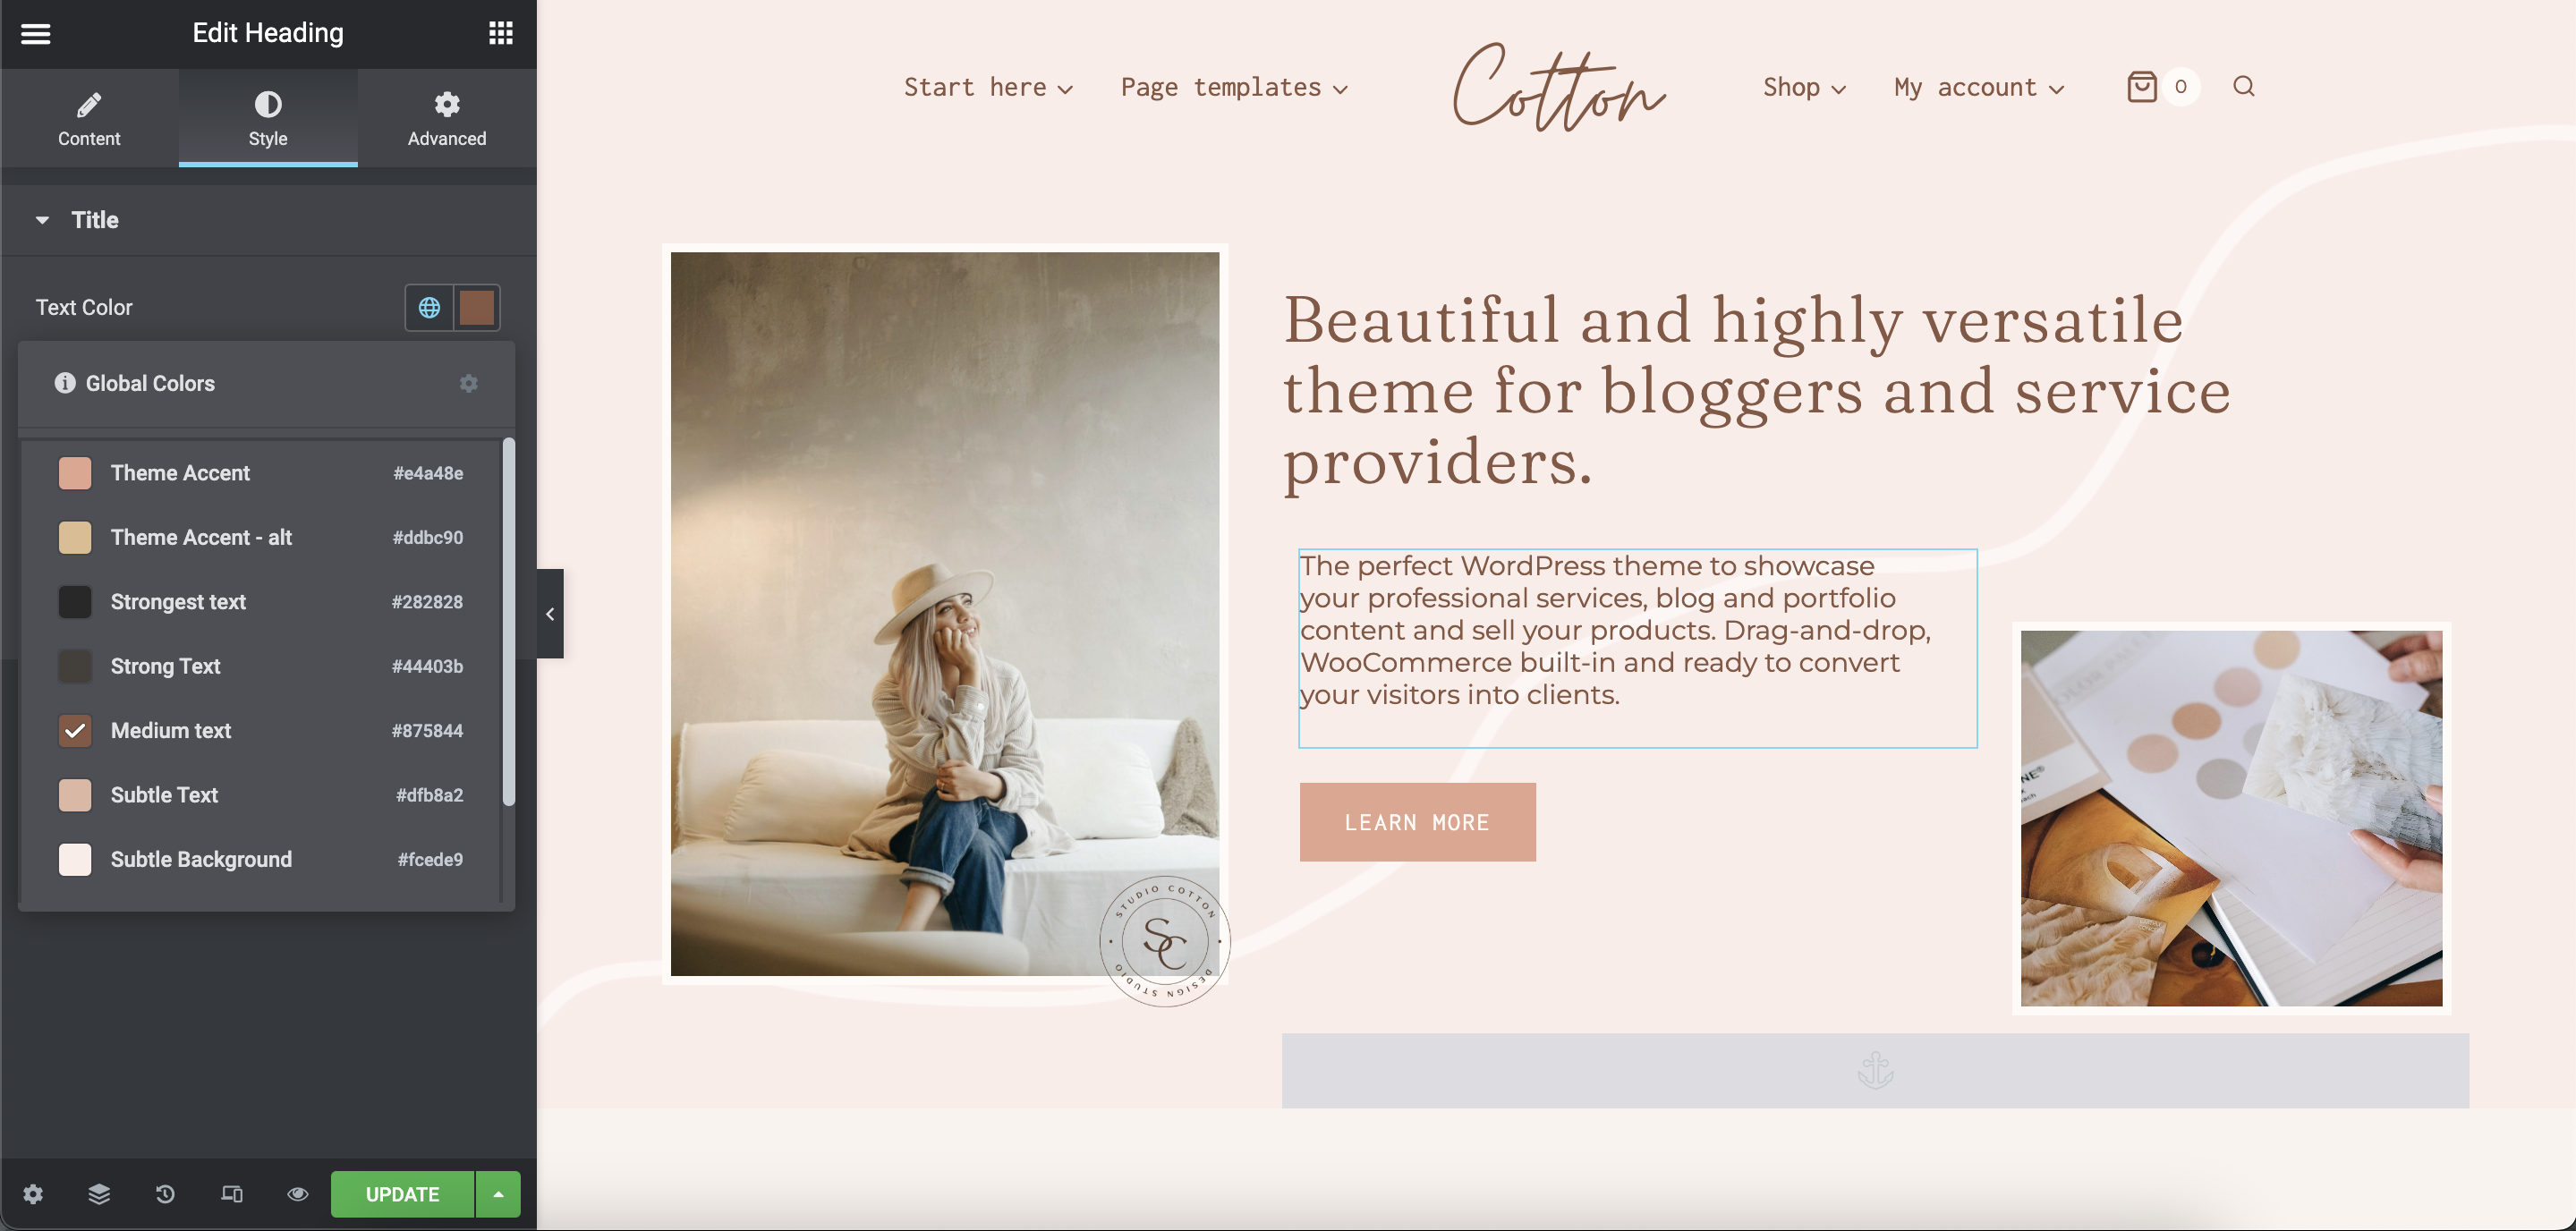
To save any changes you have made to the design just press the green update button.
Elementor really makes it simple to edit your design and view changes on the front end of your website. Need help customizing your Blossie Creative theme? I am happy to assist, just send me a message!

hi, friend!
I’m Monika, a total WordPress know-it-all with an appreciation for all things design.
Find this article helpful? Save it for later and share it with others.
2024 · Blossie Creative · Terms & Privacy Policy · Services